


I’m always looking to make the most out of the space I have in my 800 sq ft apartment in Alexandria, Virginia. I’ve always been a sucker for a good weekend project. When I was looking around my living room last week I realized that everything kind of felt half-done, and the space wasn’t being used to it’s fullest. So this past weekend I decided to channel my inner Joanna Gaines and take a stab at creating some industrial floating shelves for my living room to take advantage of the high ceilings and maximize the space I have available to me.
Here is a step-by-step for how you can do it too.
Supplies:
Wood:
Piping:
Other:
- 8oz Wood Stain, I used Minwax English Chestnut
- 8oz Top Coat, I used Minwax Satin Polycrylic Protective Finish
- Hanging hardware (screws, anchors, etc)
- Stain brushes or rags
- Plastic dropcloth
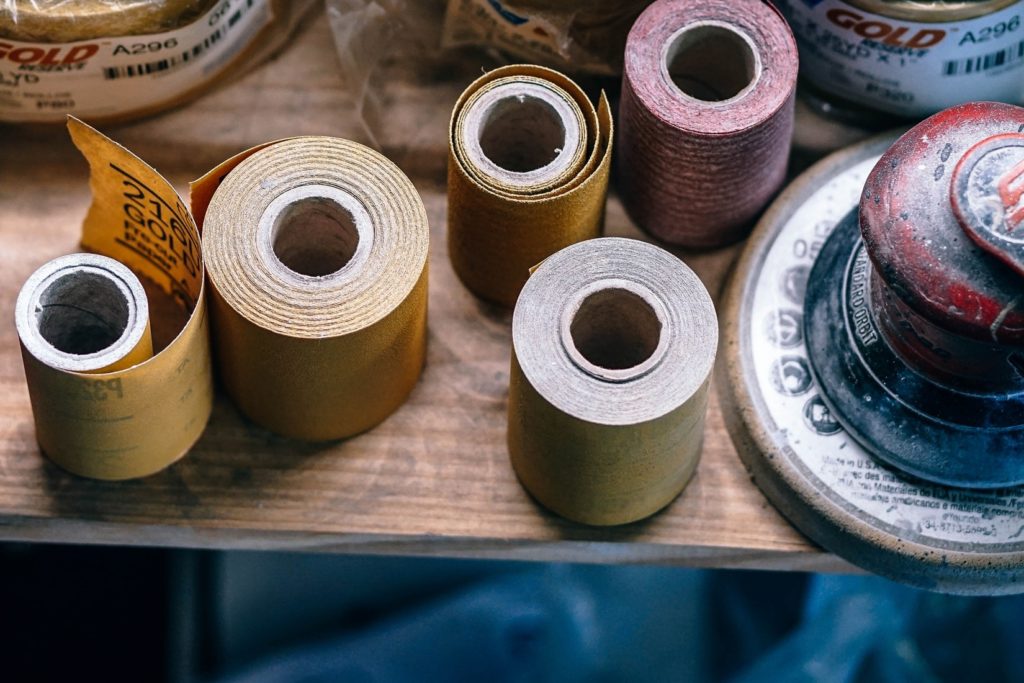
- Sandpaper
Step 1: Purchasing Materials.
The first thing I did before starting this project out was price out all of my materials. I compared prices at all the major hardware stores (Ace, Lowes, HomeDepot) and ended up getting the bulk of my supplies at Home Depot.
Measure the space you are working with ahead of time to figure out the length of the boards you will need. I was working with about 14ft of space and knew I wanted to do a tiered shelf approach. I ended up purchasing two 10in x 8ft pine boards at Home Depot. Since I live in an apartment complex I don’t really have anywhere I can use a saw and not disturb my neighbors. So I had the guys at Home Depot cut my second board at 5ft to give me the 5ft shelf and the 3ft shelf.
I also picked up my wood stain, finish, brushes and drop-cloth while in Home Depot. I ended up already having the screws and anchors I would need at home.
I purchased my pipe hardware from this awesome online retailer called Essential Hardware (Pipes can also be purchased from Home Depot or any hardware store) The number of pipes you’ll need will depend on the number of shelves you’re building. Seeing how I was planning on doing three shelves I would need 7 pipe brackets (for the sake of this article a bracket means 1 flange, 1 pipe, 1 cap) total. My 3ft and 5ft shelves needed two brackets while the 8ft shelf needed three brackets.
Obviously, your total price will vary depending on how many shelves you decided to do, but my total for two 10in x 8ft boards, stain, finish, brushes, drop-cloth, and pipes was under $85. Not too shabby.
Step 2: Prepping and Staining the Wood for your Industrial Floating Shelves.

Once you have everything purchased, the next step is to prep and stain the wood shelves. This is a long process…so be prepared.
Using some fine grit sandpaper, smooth out any imperfections along your boards. Be sure to sand with the grain and not against it. I ended up choosing boards that had more knots than others and didn’t really care if the shelves were perfectly sanded or not. Because I was going for more of the rustic look-and-feel, I just did a quick pass over with the sandpaper. Once you’re done sanding be sure to vacuum up any dust before you begin to stain your shelves.
When the staining wood, make sure you do so in a well-ventilated area. For the best results, follow the directions on the can of stain and make sure to adhere to the recommended drying times. Choose any stain that achieves your desired look. Most hardware stores have sample woods with each stain color applied that you can look at. I ended up using English Chestnut to match a coffee table I had previously re-stained. Always, always apply a finish to your stained wood. This will help lock in the color and prevent damage from dust or water.
Step 3: Assembling Your Shelves.
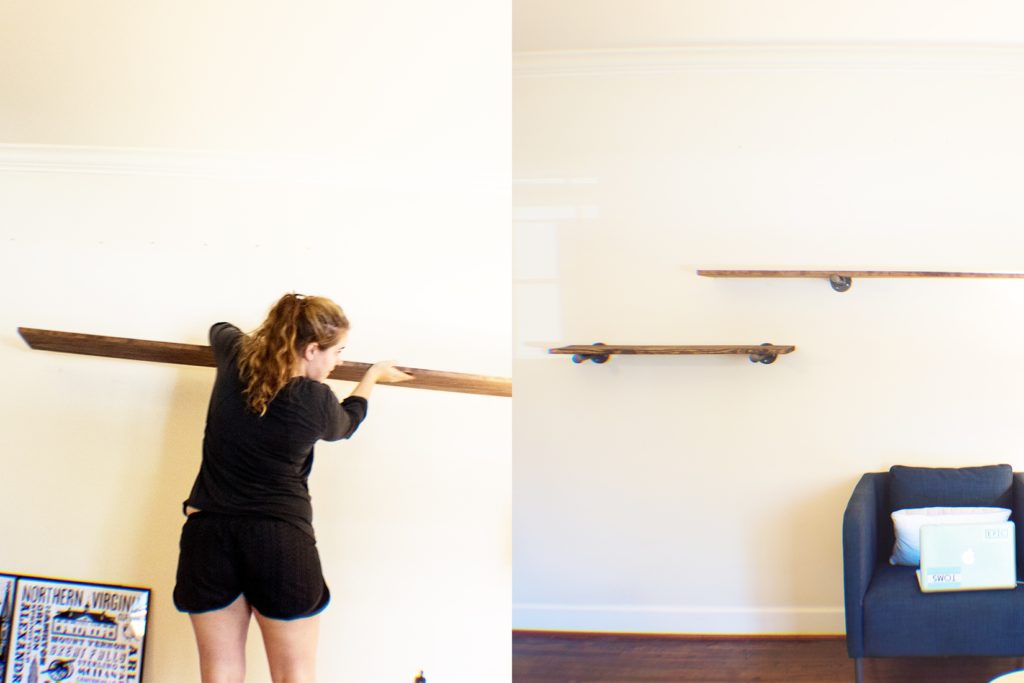
Staining the wood took me pretty much all of Saturday, so Sunday was deemed assembly day for the industrial floating shelves. This process took roughly about an hour.
When hanging the shelves, it’s important that you make sure the bracket is screwed into a stud. To find a stud, start in a corner and measure out to find the stud at either 16” or 24″ until you find it. You can also use a stud finder or knocking on the wall until you can hear the audible difference between stud and hollow wall. If you end putting your shelves in a spot where only one bracket can screwed into a stud be sure to use wall anchors for the remaining bracket. Use a level as you place your second bracket to ensure that the shelves are indeed level and flat.
Before hanging my shelves, I had taken stock of roughly what I wanted to put up on them. I knew I would need space to be able to fit two framed tea-towels I found at a craft show that were 28” high and had an assortment of other knick-knacks that I wanted to display on the shelves. Having this helped me to plan the layout of my shelves. If possible, try to pull out the stuff you plan on placing on the shelves to help you decided on the best arrangement for your space and your stuff.
Step 4: The Finished Product.
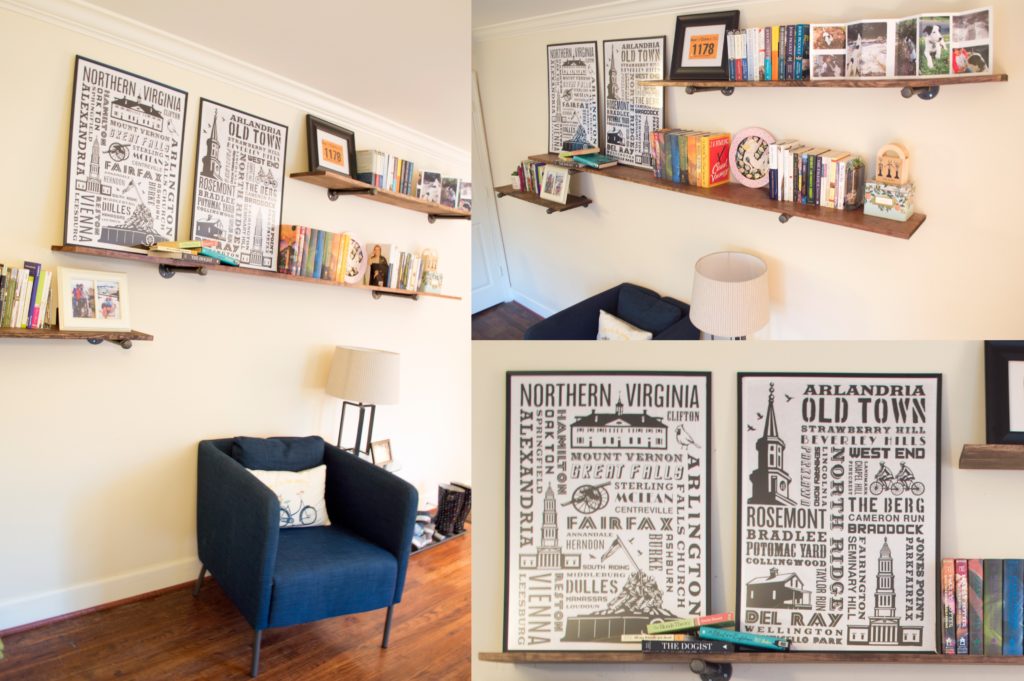

And there you have it. For under $100 you have some new shelving that is completely one of a kind. Bring out your personality when adding knick-knacks to your new industrial shelves. I utilized everything from cacti to books to a recipe box to a weird plate with a naked lady on it. Flea markets and craft shows make for an excellent source for small, but cute decor pieces. Need some inspiration? Check out some of our tips for decorating your living spaces!